There are several ways to import new images into your Deckspert Images Library. The most important thing to remember in every case is to keep them organized by using Category tags.
The Image Library and Category Tags
The Image Library is your main media repository: the place where you can upload new images and manage the ones you already have. You access it by clicking the Images tab on the Home Screen, and you can organize and sort by using the View menu on the upper right.

In above screen shot, you can see the Image Library with the View options menu open. You have two sorting options: Alphabetical and By Date Added. The default sorting preference is Date Added in order to keep your latest uploads at the top of the list.
You will also see a list of categories. These are the Category Tags that you will create and apply to your images to keep them organized. Category Tags function to assign images to groups, much like folders in a document management system, but unlike folders, you can add multiple tags to individual images so they can belong to more than one group at a time.
Importing Images: Laptop (PC) Workflow
The recommended process for importing images requires a little planning ahead. For this workflow, it is assumed that you have already taken the set of photos you want to use, and you will import all of them at once. In this example, we are creating a new deck for a Sandwiches module.
- Open the Deckspert Image Library by clicking on the Images tab on the Home Page.
- In the View menu, select the category tag (group) that you want to assign to the new images.
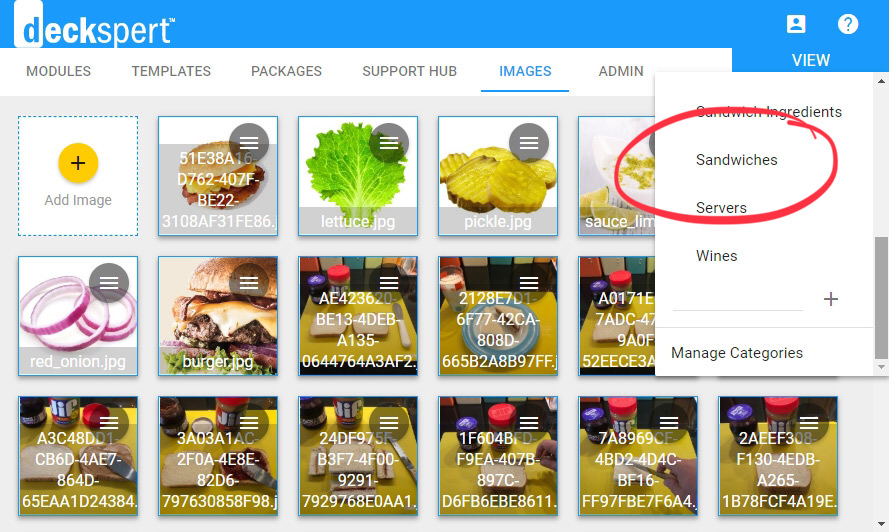
Image Category Tag List - If the category tag doesn’t exist yet, you can add a new one by scrolling to the bottom of the list and typing it into the “+” line.
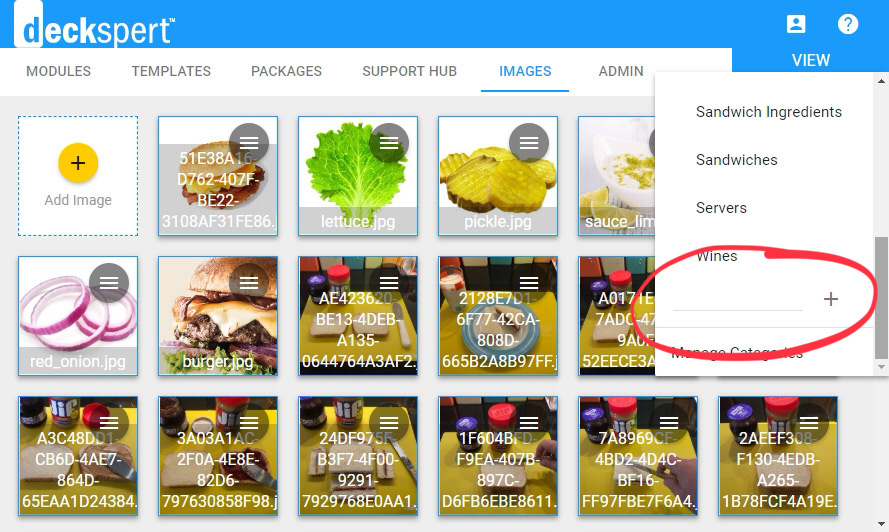
Add new category line - Make sure the category tag is selected and appears in the View menu drop-down.
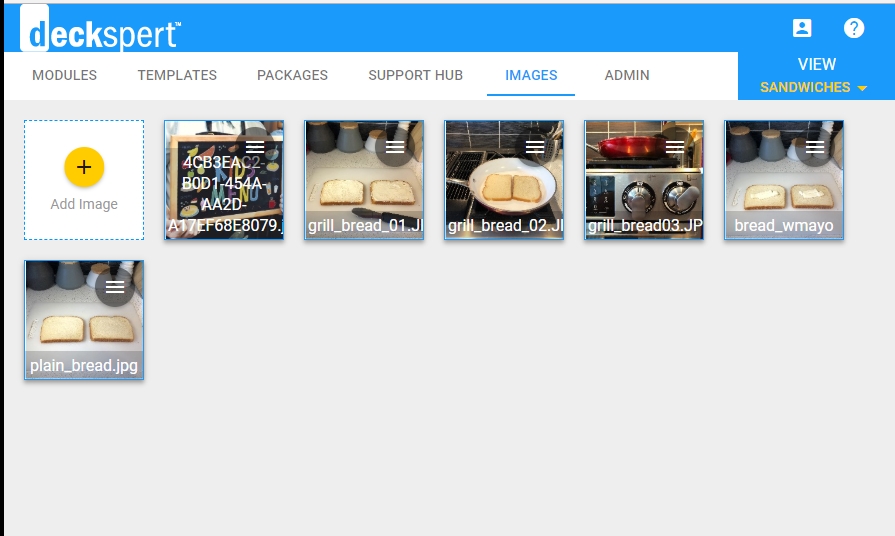
Image Library with “Sandwiches” Category Tag selected - Navigate to the images on your laptop.
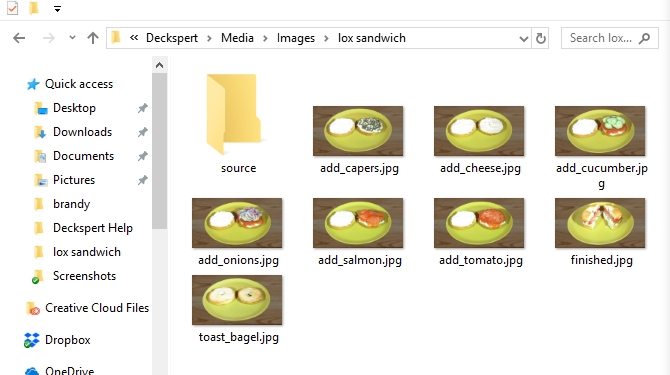
Images folder on PC Laptop - Select all the images you want to add.
- Drag the images into the Image Library panel.
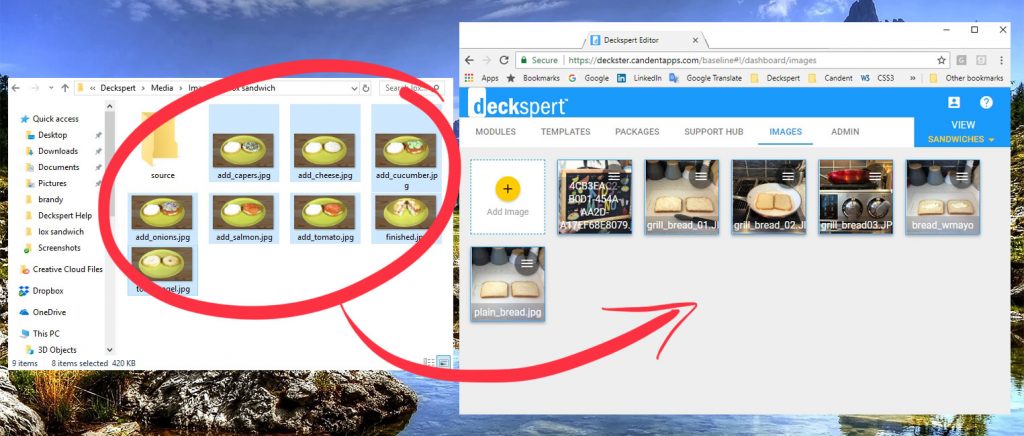
Select and drag the images into the category view
You can, of course, add images one at a time through the same method.
Importing Images: Tablet (iPad) Workflow
You can also take and import images on the spot.